Hey all.
So I've realized that setting goals of working out EVERY single day for half an hour, up to two hours, every day...is just not realistic for me right now. I think this is a big reason that I stopped working out for about 3 weeks. Anyway, I've now committed myself to working out 2-4 days a week, aiming for 3 days a week, for 15-20 minutes at a time. This way, I feel I have no excuse for not working out. 15 or 20 minutes a day is an easy enough time to set aside!
So here are some work outs I've been doing for those 15-20 minutes :)
I always start out with this warm up before doing any yoga routine:
Then, I will usually do one, or if I'm feeling really good, two of the following:
Then, I usually cool down by doing some light stretching or one of the following yoga videos:
I have to admit, I absolutely HATE doing any ab work out. HATE it. But, when a video is less than 10 minutes long for the abs, I feel I can better commit to it and actually get up and do it. The goal right now for me is to keep up with the workouts as best as I can 15-20 minutes a day, 3 or more days a week. Hopefully once I make this a habit, I can create bigger, yet attainable goals for myself when it comes to my workouts :)
I hope this was helpful to some of you!
Don't forget to breathe.
--Dana

Monday, May 19, 2014

Thursday, May 15, 2014
Lower back pain: tips, remedies, and so on.

Lately my back has been flaring up with it's stiffness, pain, and just all around comfortableness. It sucks. Anyone who suffers from back pain, can definitely agree!
Here are a few things that have helped my chronic back pain over the years as well as recently. I hope it helps some of you back pain sufferers out there!
Yoga has probably been the number one thing that has helped my back pain over the years. Not only does almost every move in yoga strengthen your core, which then helps to less strain on your back (or so I hear), but a lot of yoga poses help to stretch out the back.
Here are some poses that have helped me:
Downward Dog

Child's Pose

Child's pose can be done with the hands/arms behind you as shown, or you can place them out in front of you, stretching forward. When doing the second option, sometimes it feels really nice on my lower back to shift my knees further a part rather than closer together.
Variation of Child's Pose

Knees to Chest

This pose is extremely helpful, especially when I first wake up in the morning and need a good stretch. You can even do it right in bed! Also, while holding your knees, as shown, you can gently rock back and forth. This really helps to release any lower back tension.
This is just ONE of the many youtube videos for lower back pain yoga stretches that have really helped me.
Remember, yoga, especially when it comes to relieving any kind of pain, is not about how perfect you can get the pose or how flexible you are. Listen to your body and do what feels good, back off of things that don't. Also, you have to keep at it. Although some stretching can help instantly with pain and discomfort, yoga is meant to be practiced. Even if it is 5 minutes before bed, your back will surely thank you!
Other things to consider:

- Do you do a lot of bending and or lifting through out the day? If so, make sure your bend from the knees and not through your back. If something is too heavy, ask for help. This is something I have definitely been doing to help prevent injury but also to help lessen the usual chronic pain I have with my back. I work retail and it can be very physical at times. If I feel there is a potential I could hurt my back, I take my time and ask for help when I need to.
- Are you drinking enough water? Water is IMPORTANT. Not only can water improve your skin and over all health, but it can actually help your back immensely! Water helps to keep our bodies (joints, muscles, and so on) moving so drink as much water as you can.
- Consider seeing a chiropractor. I know that seeing a chiropractor really helped me when my back pain first started about 6-7 years ago. I can remember being so scrunched up and tight that I couldn't even sit upright without being in excruciating pain. I am a firm believer in taking pain as a warning sign. If you are in more than just a little bit of pain and it persists, see a doctor and have them refer you to a chiropractor if that is the best thing for you.
- Ice and heat. This is another thing where you should just listen to your body's needs. Usually a hot shower or warm/wet heat (as in a wet and warm washcloth) can help more than an ice pack for me. However, some times ice is also useful in my case. You can also use things like icy hot or aspercream if you find they help. However, creams and rubs have never really done the trick for me. Like I said, it is all about listening to your body. There's also over the counter asprin/advil/alieve you can take for inflammation and so on. However, those have never really ever touched my own back pain.
- An herbal remedy that has helped not only my back pain, but my chronic knee pain as well, has been a tea, actually. Yogi tea makes a tea called 'joint comfort'. This tea has been something I have had to get used to just because it does not taste the best. It tastes kind of minty...herbal-ly? I'm not the best at describing tastes. Anyway, I usually use one-two tea bags a day with one green or black tea bag as well as some honey/brown sugar. When I combine it with another tea bag, it tastes pretty good actually! This tea also has ingredients that are meant to calm inflammation. It's awesome :)
Don't forget, breathing can sometimes prove beneficial. Just breathing! think about it, when you're driving to work or school and you don't even remember how you arrived at your destination. Were you even breathing correctly? Were you slouched in your seat the entire ride? Noticing things like this can really help your back pain in the long run, at least it has for me!
I hope this blog post has helped some of you out there and feel better!
Don't forget to breathe, again.
--Dana
Tuesday, April 15, 2014
All Natural Face Mask!

I made myself an all natural face mask using organic honey, lemon juice, and clove powder. Oh yeah.
Not only was it a nice, relaxing thing to do for myself, but the ingredients also help to fight acne!
Instructions:

Then, you want to prepare your face-mask-mixture.
I eyeballed everything, then realized I should have measured it out because I had WAY too much face mask for my one face.
 Use: a table spoon to a table spoon and a half of honey, a few drops of lemon juice, and then about a teaspoon to a teaspoon and a half of the clove powder. If you don't have clove powder, you can use ground cinnamon or even nutmeg...or all three :)
Once everything is mixed into a paste in a bowl, you want to either wash your face with warm water, or take a warm towel and let it sit on your face a few minutes. This opens the pores for the mask.
Pat your face dry and then apply the mask. Wait 20 minutes and then wash off! BAM!

I hope this was helpful and don't forget to breathe!
Thursday, April 10, 2014
Ocean Meditation
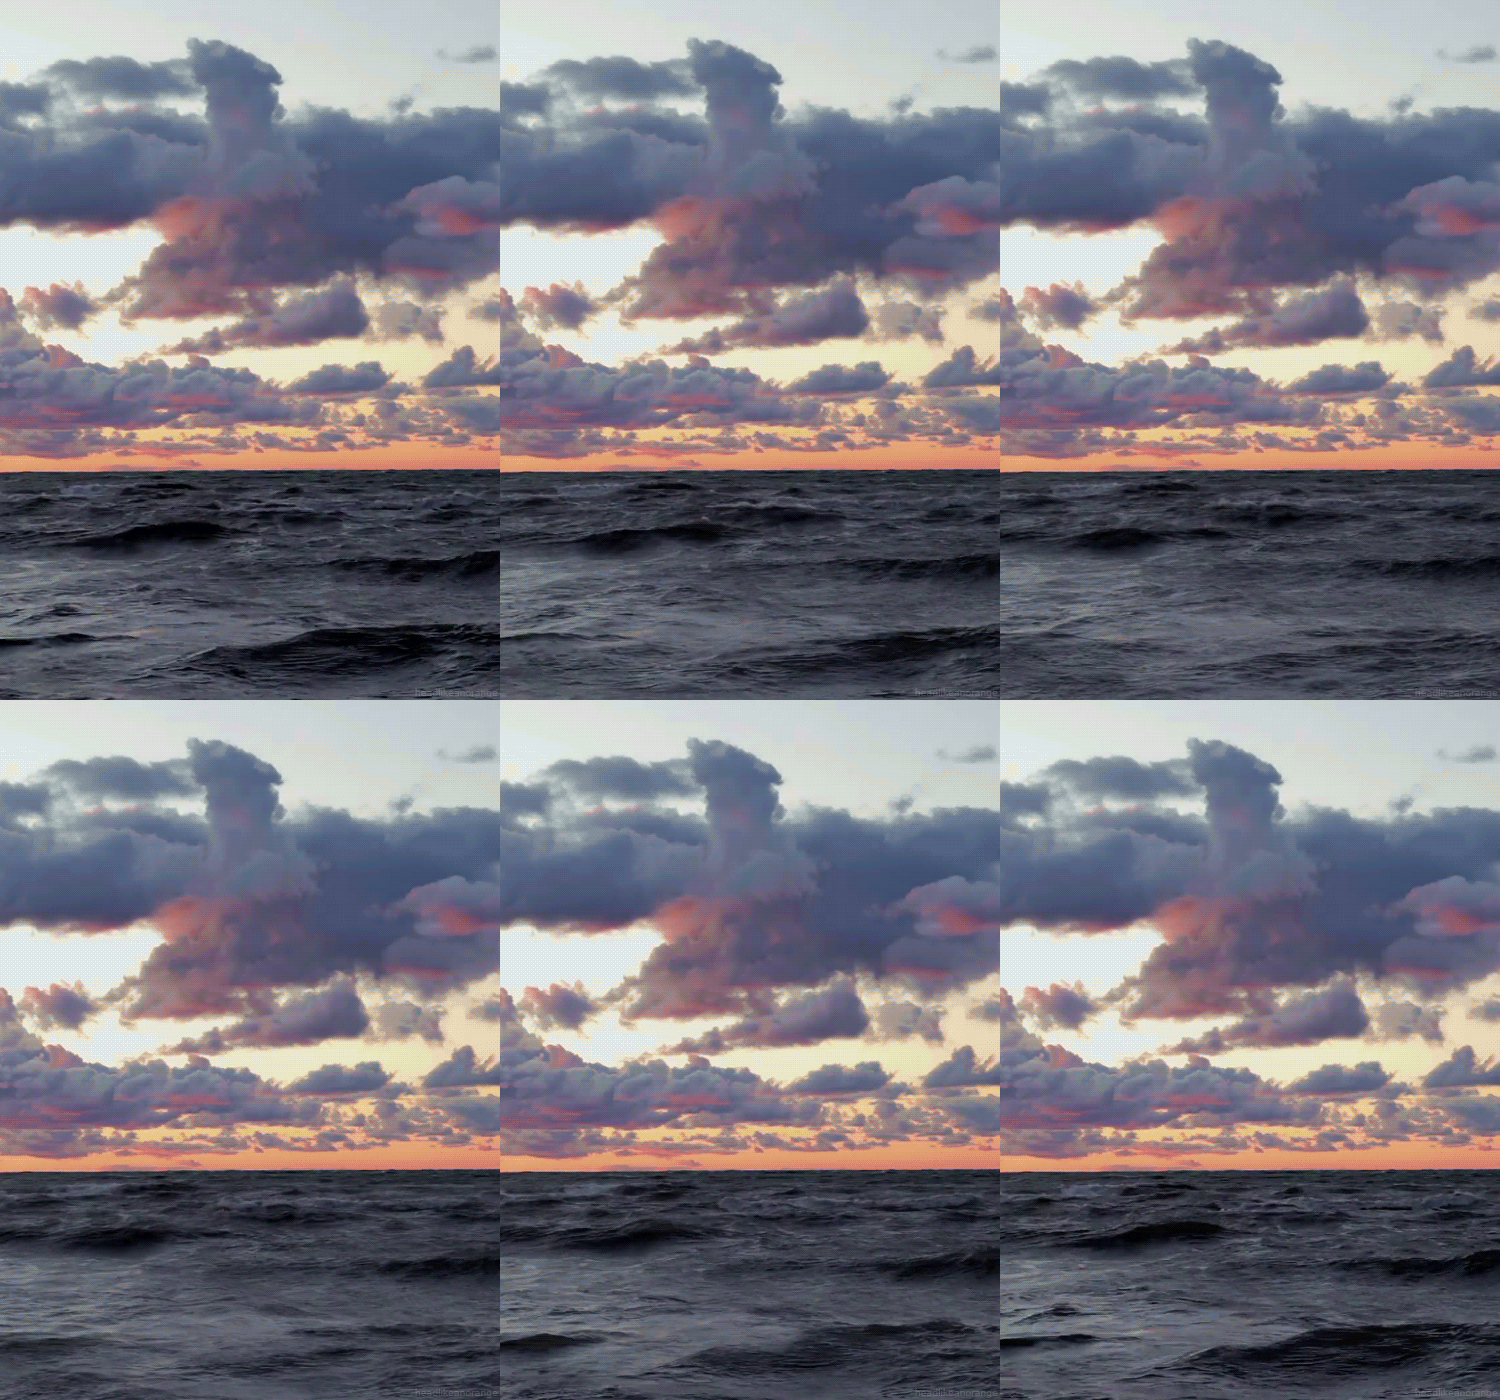
It's been awesome so far, but today was by far the best. One of my classmates chose ocean meditation. Since she obviously couldn't bring the entire class to the beach, she brought in jars of sand, shells, and water from the beach. I thought this was an amazing idea. So much so that I figured I would share.
And hey, I don't even like the beach!
Here's my spin on my classmate's meditation...
First, you'll need:
- A comfortable sitting place and position. (ie: yoga mat, pillow, a bed, a chair, so on.)
- A jar of some kind, preferably with a lid
- Sticky notes/paper, and or pebbles/shells large enough to write on
- A permanent marker or pen
- Meditation music and or the sounds of the ocean
- Sand, water, sea shells from the ocean
- A quiet space to practice
First, assemble your jar. You can really do this any way you like. Mainly, the important thing is to have the sand at the bottom and fill your jar with the ocean's water. From there, you can add sea shells or even blue food coloring to make the water a bright blue color. There's no right or wrong! However, make sure you leave enough space in your jar to throw negative shells/rocks/paper.
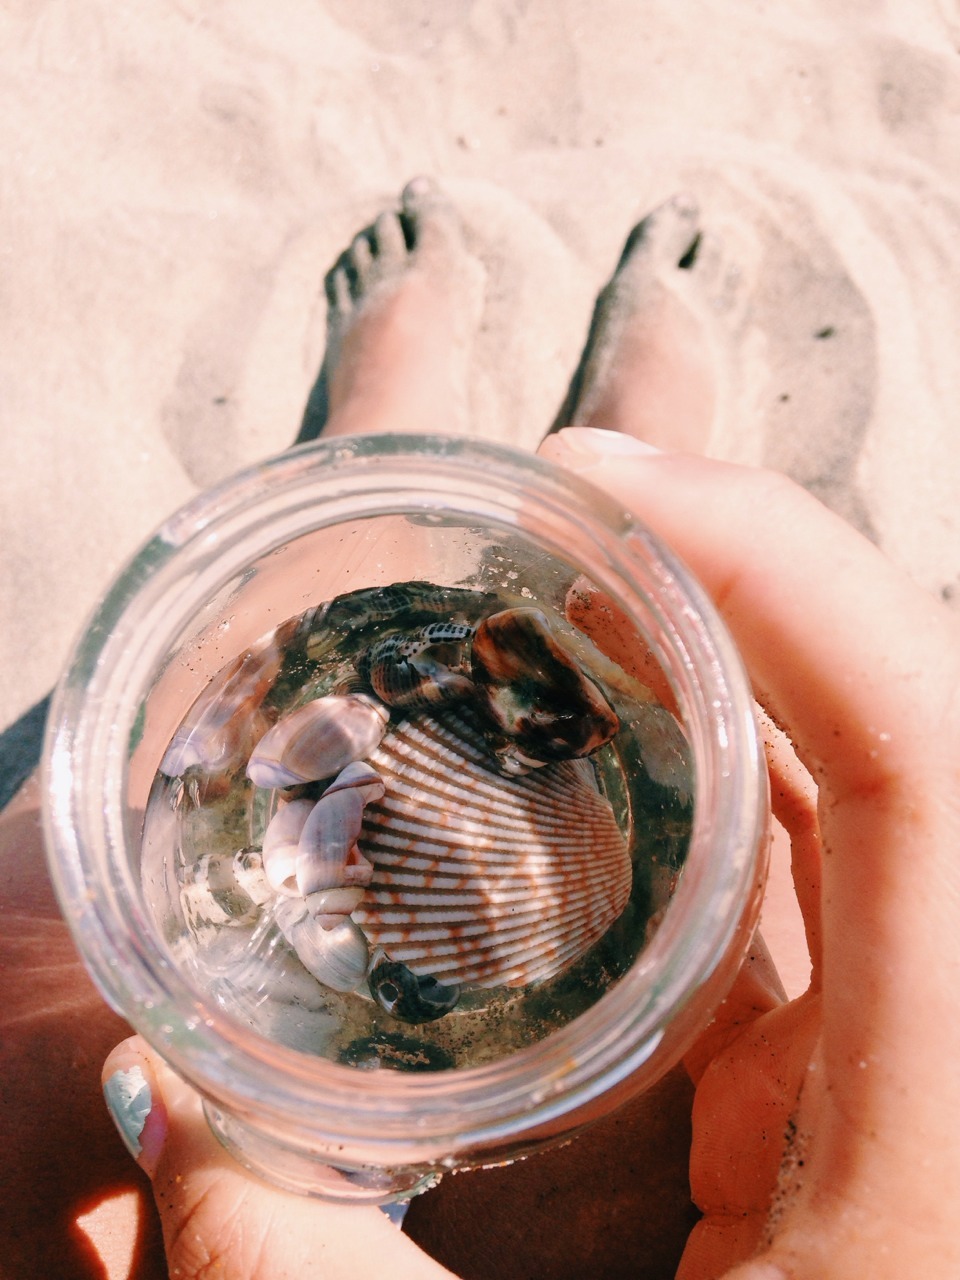
Be seated, comfortably. If you have back issues, make sure it's leaning on something or is supported either in a chair or against a wall.
Have your feet flat on the floor to ground you.
You can even play this video as you meditate, it's super helpful!
Concentrate on your breath for a few moments. Breathe comfortably, yet deeply. Try to see if you can match your breath with the sound of the waves crashing on the beach.
If it helps, you can keep your eyes open for the moment and stare at your ocean in a jar, focusing on your breath and the sound of the waves.
Once you've settled into your breath, you can slowly close your eyes. Imagine you are walking along the beach. Visualize carrying two buckets in either hand. One, sea shells or perhaps rocks/sea glass that represent positive emotions, feelings, places, people in your life. In the other bucket, there are sea shells, rocks/sea glass that represent negative emotions, feelings, places, people, attachments and so on in your life.
Imagine yourself walking slowly, mindfully, with these two buckets. Be mindful of your breath.
Now, visualize yourself throwing the negative bucket into the water. Water is a purifying element (from Buddhism and many other religions/philosophies) and by throwing your negativity into the ocean, you are cleansing your spirit of the negativity it held onto.
You can ask for help in any way that you feel can best serve you in this moment. You can ask for guidance, if you wish.
Always ask that this help be the highest and best.
Now, gently and very slowly open your eyes. Once again, stare at the jar in front of you. Concentrate on your breath once more.
When you're ready, write on your piece of paper, rock/sea glass, shell, etc. something or someone that has a negative attachment for you. If it's a piece of paper, fold it up.
Again, when you're ready, place that negativity inside of your jar. Know that the water has cleansed this negativity. It no longer belongs to you. You no longer need to carry it with you.
Gently, rub the palms of your hands together, even rub your hands on the tops of your legs to bring yourself back.
Namaste ("The Spirit within me salutes the Spirit in you").
I hope this was helpful!
--Dana
Friday, March 28, 2014
Today's Workout!
Hey, all. I'm completely exhausted from work and school and just life in general. Nonetheless, I did manage to squeeze in a work out today. For the actual workout, I kept switching from using 5lb weights to using no weights at all. It was just too difficult to use the 5lbs all the way through for me! Anyway, here it is:
As a warm up:
Then, the actual workout (and yes, I did miss working out yesterday due to lack of time, so the title of this workout is pretty fittng)
And finally, I did this cool down. Which felt amazing after sweating and panting!
That's all for now. I hope you're having a good night and don't forget to keep breathing! --Dana
As a warm up:
Then, the actual workout (and yes, I did miss working out yesterday due to lack of time, so the title of this workout is pretty fittng)
And finally, I did this cool down. Which felt amazing after sweating and panting!
That's all for now. I hope you're having a good night and don't forget to keep breathing! --Dana
Wednesday, March 26, 2014
Skin update/How I helped clear my acne.
Hello, all.
I thought I would make a blog post about some changes I have made to my skin routine/life style that have really helped in clearing my acne up. Now, I am not brave enough to post a before and after picture, but trust me, there HAS been a significant improvement in my skin. (I will link all products so you can check them out!)
First, I have started drinking more water and less sugary/soda-like drinks. This isn't rocket science, guys and gals. Sugary drinks like soda can make some people, including myself, break out. That's not to mention all the other chemicals and bad crap they put in soft drinks and all. Bottom line, they just aren't good for you. And besides, water is, in most cases, free. So drink as much as you can, daily! You can even add lemon, frozen berries, mint, etc to water to make it a little different. Or, try carbonated water, just make sure there is no added sodium.


Something I find interesting is that when I was 18 I saw a dermatologist who basically told me that diet has nothing to do with breakouts. Can you believe it?! Of course diet has a hand in breakouts! You are what you eat! I still do drink soda occasionally, but it is now about once every 2-4 months rather than having 2-3 sodas in a day, 3 or more times a week. Also, working out has helped clear my skin as well. Since a lot of my acne is caused by stress, working out regularly helps to better release my stress so it doesn't cause as many breakouts :)

Second, I have switched my actual skin care routine. Before (about 2-3 years ago), I would have a face full of make up and just use an acne cleanser at night to remove everything. WRONG. There is so much gunk that stays in your pores when you do that! Instead, I now use baby wipes or make up removing wipes to remove not only my eye makeup, but my face make up as well. You'd be surprised how great baby wipes work, and how inexpensive they are when compared to makeup removing wipes!

After I remove my make up, I cleanse my face with Lush's Fresh Farmacy. It is the ONLY acne cleanser that has ever truly worked for my skin. It's also a lot more natural than a lot of over the counter/prescription acne cleansers out there. It also helps to balance out my skin and I have noticed my skin has become a lot less red over the time I have used this product. It has also, in my opinion, helped to fade some of my acne marks. So, go Lush!

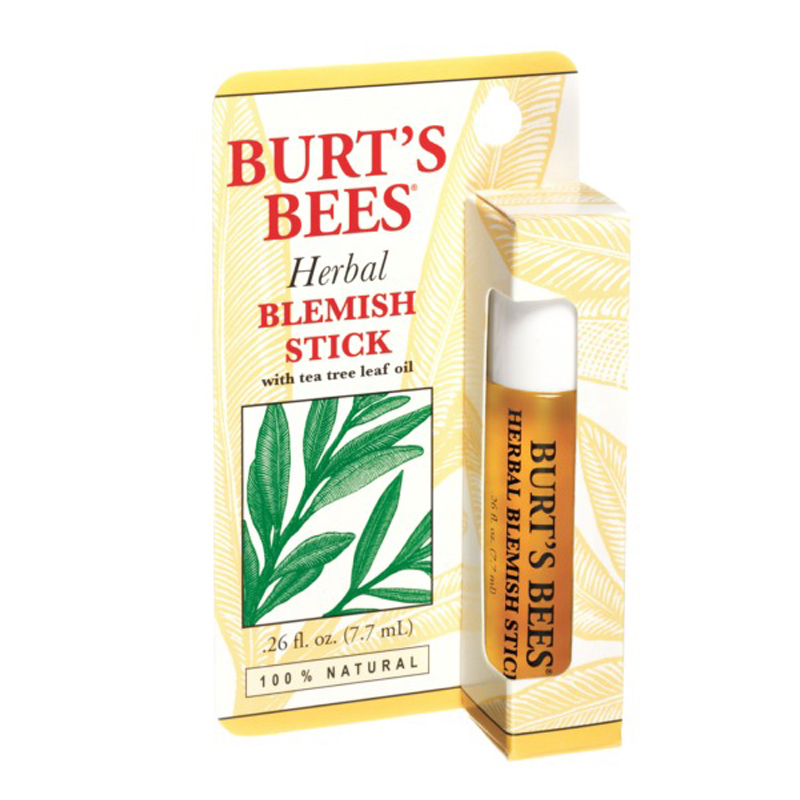
I then treat any acne bumps/breakouts I have. I use Say Yes to Tomatoes Treatment Spot Stick or Burts Bee's Herbal Blemish Stick. Both work equally as well, it just depends on which store I am purchasing an acne spot treatment at. Unfortunately, a lot of stores by me have stopped carrying the Say Yes to Tomatoes Spot Stick.


At night, if I feel my skin is dry, I apply my moisturizer, but most nights I do not. I do, however, use my Palmer's Coco Butter Formula Daily Facial Lotion every day, whether I am applying makeup over it or not. Although it does not smell the best, this stuff really does work well with my skin. It isn't greasy, yet it moisturizes my skin enough. I was using Aveeno's Positively Radiant Moisturizer, but 15 bucks every 2 months for a moisturizer was a bit too steep for my wallet.

Finally, the largest improvement in my skin is most likely because I have been on a birth control pill for over 2 years now. At first, it caused me to break out worse than I had in years, as well as making me gain about 3-5 pounds. My body simply needed to get used to having all of the hormones of the pill and after about 6 months, I saw a dramatic improvement in my skin. I no longer get the huge, painful, cystic acne break outs; the ones that were responsible for a lot of my acne marks and scars. (I also lost the weight I gained from introducing the pill). Whenever I break out now, it is less frequent, and I can almost always tell when I am going to have a break out because my hormones are now regulated. The actual blemishes are a lot smaller and a lot easier to shrink or get rid of, as well. I know there is a bit of controversy over 'The Pill' and whatnot, but this is just what has worked for me in my life and for my own body.
The pill was a last resort for me, really. I had already used every single proactiv, murad, clearasil, and so on product. I know enough about acne products to know what I am allergic to and what will definitely make me break out. I had already seen a dermatologist, who in the end, basically told me I would 'grow out' of my acne (which never happened, by the way).
My skin, as of now, is not perfect by any means but no one really has perfect skin. I still occasionally break out and I still have acne marks and scars. To me, I don't really care as much what others think about my skin. I know that it has come a long way from where it was and I have to say I am happy with how my skin is right now!
Some tips:
I thought I would make a blog post about some changes I have made to my skin routine/life style that have really helped in clearing my acne up. Now, I am not brave enough to post a before and after picture, but trust me, there HAS been a significant improvement in my skin. (I will link all products so you can check them out!)
First, I have started drinking more water and less sugary/soda-like drinks. This isn't rocket science, guys and gals. Sugary drinks like soda can make some people, including myself, break out. That's not to mention all the other chemicals and bad crap they put in soft drinks and all. Bottom line, they just aren't good for you. And besides, water is, in most cases, free. So drink as much as you can, daily! You can even add lemon, frozen berries, mint, etc to water to make it a little different. Or, try carbonated water, just make sure there is no added sodium.
Something I find interesting is that when I was 18 I saw a dermatologist who basically told me that diet has nothing to do with breakouts. Can you believe it?! Of course diet has a hand in breakouts! You are what you eat! I still do drink soda occasionally, but it is now about once every 2-4 months rather than having 2-3 sodas in a day, 3 or more times a week. Also, working out has helped clear my skin as well. Since a lot of my acne is caused by stress, working out regularly helps to better release my stress so it doesn't cause as many breakouts :)
Second, I have switched my actual skin care routine. Before (about 2-3 years ago), I would have a face full of make up and just use an acne cleanser at night to remove everything. WRONG. There is so much gunk that stays in your pores when you do that! Instead, I now use baby wipes or make up removing wipes to remove not only my eye makeup, but my face make up as well. You'd be surprised how great baby wipes work, and how inexpensive they are when compared to makeup removing wipes!
After I remove my make up, I cleanse my face with Lush's Fresh Farmacy. It is the ONLY acne cleanser that has ever truly worked for my skin. It's also a lot more natural than a lot of over the counter/prescription acne cleansers out there. It also helps to balance out my skin and I have noticed my skin has become a lot less red over the time I have used this product. It has also, in my opinion, helped to fade some of my acne marks. So, go Lush!

I then treat any acne bumps/breakouts I have. I use Say Yes to Tomatoes Treatment Spot Stick or Burts Bee's Herbal Blemish Stick. Both work equally as well, it just depends on which store I am purchasing an acne spot treatment at. Unfortunately, a lot of stores by me have stopped carrying the Say Yes to Tomatoes Spot Stick.
At night, if I feel my skin is dry, I apply my moisturizer, but most nights I do not. I do, however, use my Palmer's Coco Butter Formula Daily Facial Lotion every day, whether I am applying makeup over it or not. Although it does not smell the best, this stuff really does work well with my skin. It isn't greasy, yet it moisturizes my skin enough. I was using Aveeno's Positively Radiant Moisturizer, but 15 bucks every 2 months for a moisturizer was a bit too steep for my wallet.

Finally, the largest improvement in my skin is most likely because I have been on a birth control pill for over 2 years now. At first, it caused me to break out worse than I had in years, as well as making me gain about 3-5 pounds. My body simply needed to get used to having all of the hormones of the pill and after about 6 months, I saw a dramatic improvement in my skin. I no longer get the huge, painful, cystic acne break outs; the ones that were responsible for a lot of my acne marks and scars. (I also lost the weight I gained from introducing the pill). Whenever I break out now, it is less frequent, and I can almost always tell when I am going to have a break out because my hormones are now regulated. The actual blemishes are a lot smaller and a lot easier to shrink or get rid of, as well. I know there is a bit of controversy over 'The Pill' and whatnot, but this is just what has worked for me in my life and for my own body.
The pill was a last resort for me, really. I had already used every single proactiv, murad, clearasil, and so on product. I know enough about acne products to know what I am allergic to and what will definitely make me break out. I had already seen a dermatologist, who in the end, basically told me I would 'grow out' of my acne (which never happened, by the way).
My skin, as of now, is not perfect by any means but no one really has perfect skin. I still occasionally break out and I still have acne marks and scars. To me, I don't really care as much what others think about my skin. I know that it has come a long way from where it was and I have to say I am happy with how my skin is right now!
Some tips:
- Wash your makeup brushes and pillow cases regularly
- Remove your makeup before washing with a cleanser
- Drink less sugary/soda-like beverages
- Workout to relieve stress hormones
- Consider birth control, after speaking with your doctor
- Drink more water!
- Be careful of what makeup/topical products you use; read the ingredients!
- Don't strive for 'perfect' skin, strive for 'clearer' skin
- Try more natural-based products and see what happens

I hope this was helpful to those of you who are struggling with acne! Hang in there, and don't forget to breathe :)
--Dana
Today's workout
Hey all!
Today I only managed to get through 25 minutes of this yoga video. It's an improvement from only being able to get through 10 minutes of it! My goal is to keep at it until I can do the entire video!
Time for a protein shake and to relax! Have a good day and don't forget to breathe!
-Dana
Today I only managed to get through 25 minutes of this yoga video. It's an improvement from only being able to get through 10 minutes of it! My goal is to keep at it until I can do the entire video!
Time for a protein shake and to relax! Have a good day and don't forget to breathe!
-Dana
Subscribe to:
Posts (Atom)